
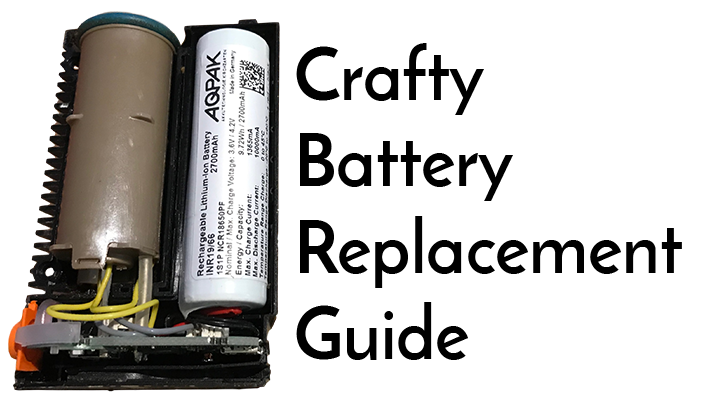
Do you feel like your Crafty vape isn’t what it used to be?
My four-year-old Crafty had once been the prize portable vape was now only reliable for about two sessions. I figured the solution was going to involve replacing the battery.
I saw that Storz & Bickel would replace the battery in the Crafty for about 75 bucks. The alternative is doing it myself on the cheap at the risk of not having a working Crafty.
Feeling cheap, I decided to do it myself as documented in this guide.
REPLACEMENT BATTERY OPTIONS
There is a selection of different batteries that will work with the Crafty, but the one with the most installed user reviews is:
(the following link is an eBay affiliate links and I get a small commission if you use it to buy your battery)
- The battery I used is the “NCR18650PF 10A High Drain Li-ion 2900mAh Battery w/ Tabs”
- This is the closest comparable battery to the original stock battery when the Crafty was first released.
Why didn’t I go for the highest capacity battery I could use?
I didn’t discover that people were having success with 3500mAh batteries until I finished my upgrade and began writing this article, but after hearing some battery upgrade feedback from folks who’ve done it themselves it seems like there is a higher rate of success if you use the NCR18650PF over the higher capacity alternative. (Thanks CVon)
Be aware that not all batteries will work with the Crafty but the one listed above has been successfully tested.
SWAPPING YOUR CRAFTY BATTERY
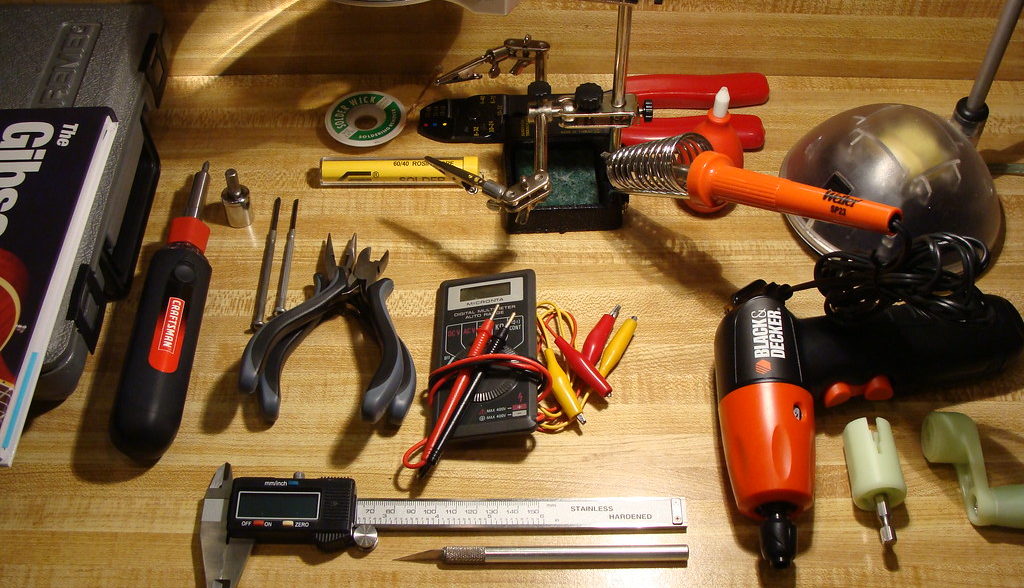
Things you’ll need:
- Replacement battery
- Torx T7 screw driver
- Soldering iron along with some soldering skills
I have a crappy soldering iron and no soldering skills so I recruited a friend to help with that part.
Something to keep in mind as you’re opening your Crafty up: keep the orientation of the wires as close as you can to how you originally found them. This means that some wires may have curves and bends in them that you should not try to straighten out or pull on in order to make more room for yourself to work.
Specifically the wires to the battery and the temperature probe.
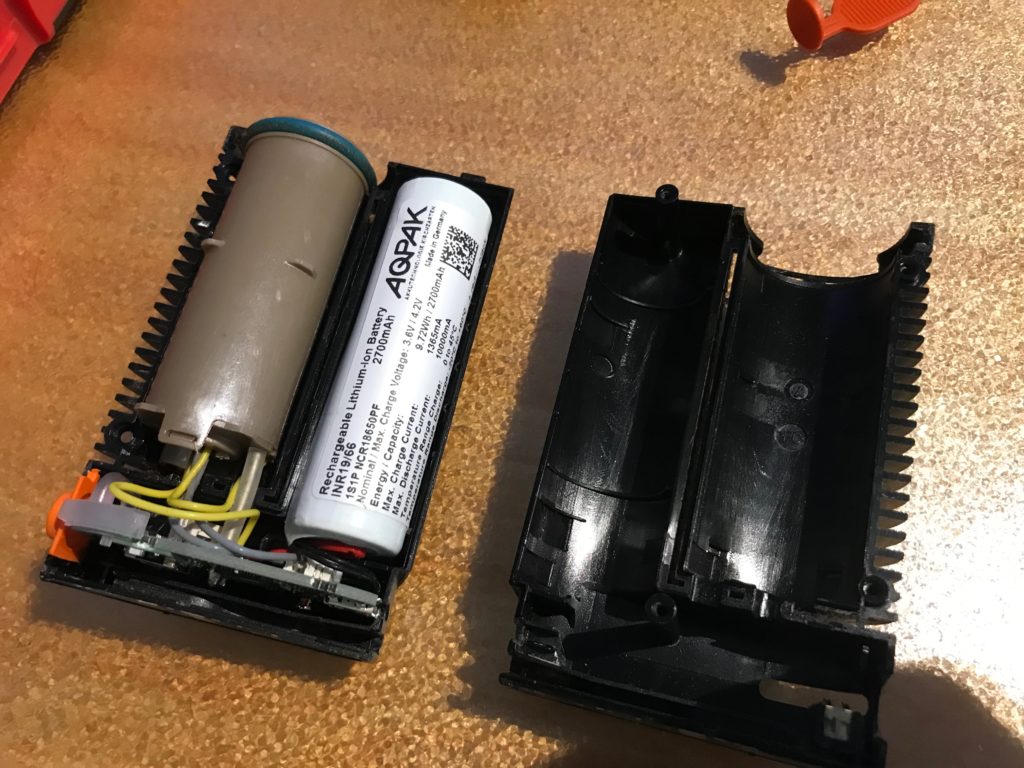
Step 1: Open the Crafty
The sticker on the bottom of the Crafty needs to removed or sliced down the middle before you can open the Crafty up. Once you’ve dealt with the sticker remove the four screws on the side of the Crafty using your T7 screwdriver.
Carefully pull the two sides of the Crafty apart.
Now would be a good time to take a picture of your stock battery and wire position for future reference.
The battery may be held to one side with a piece of padded tape, you can gently pry it off.
Step 2: Remove all the internals of the Crafty as one piece.
It’s alright if the transparent plastic piece and orange rubber power button fall off.
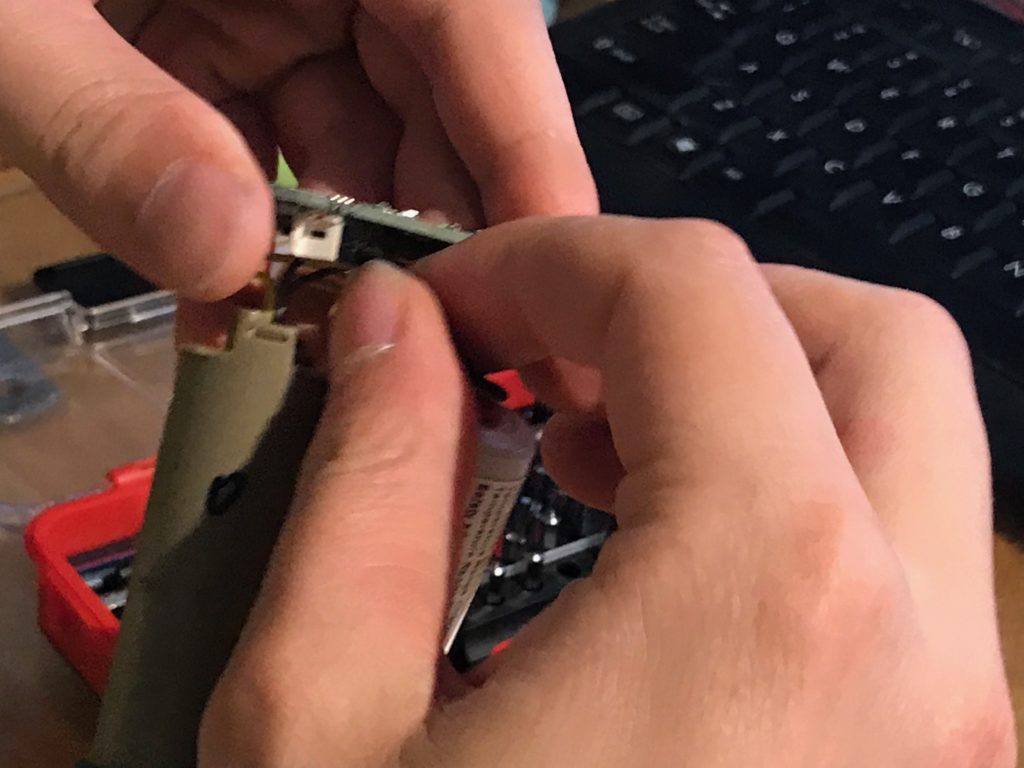
Once you’ve removed the internals from the Crafty shell spot the two connectors coming out of the battery and find their respective connectors on the board.
Gently disconnect the two connectors from the board. Do not use a metal pick or screwdriver because you could accidentally short the board out if you slip.
Make a note of the position of the temperature sensor on the stock battery. You can find it by looking for a bump under the wrap between the two solder points where the battery is connected.
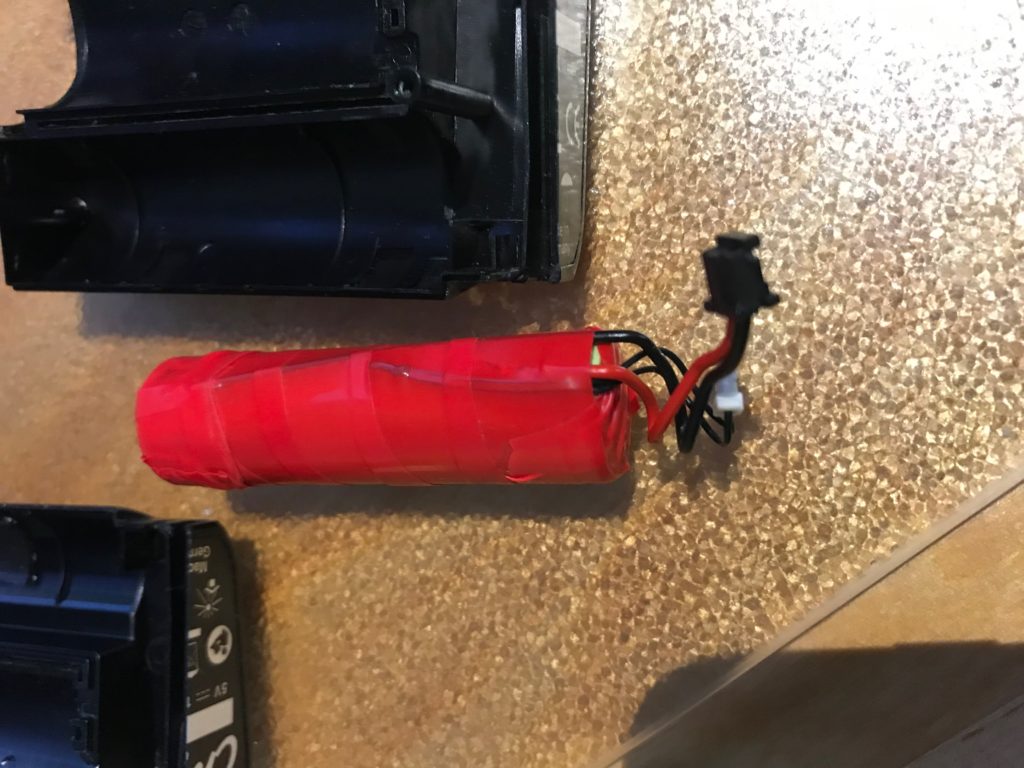
Step 3: Carefully slice open the stock battery wrapper making sure not to cut any wires underneath the wrap.
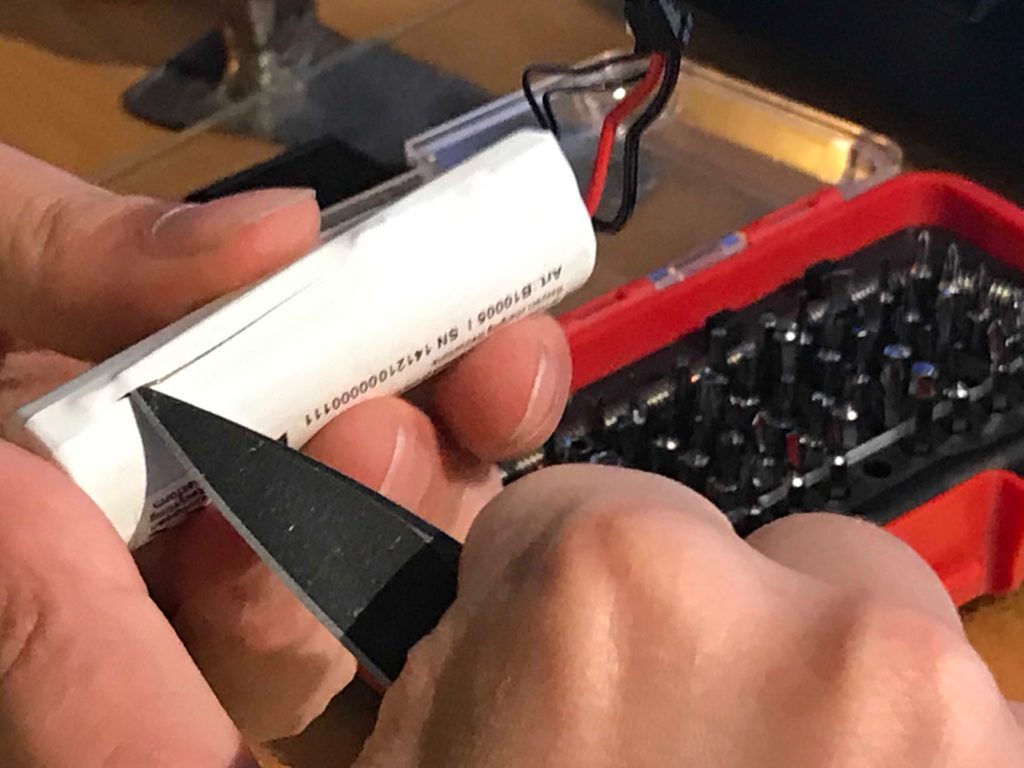
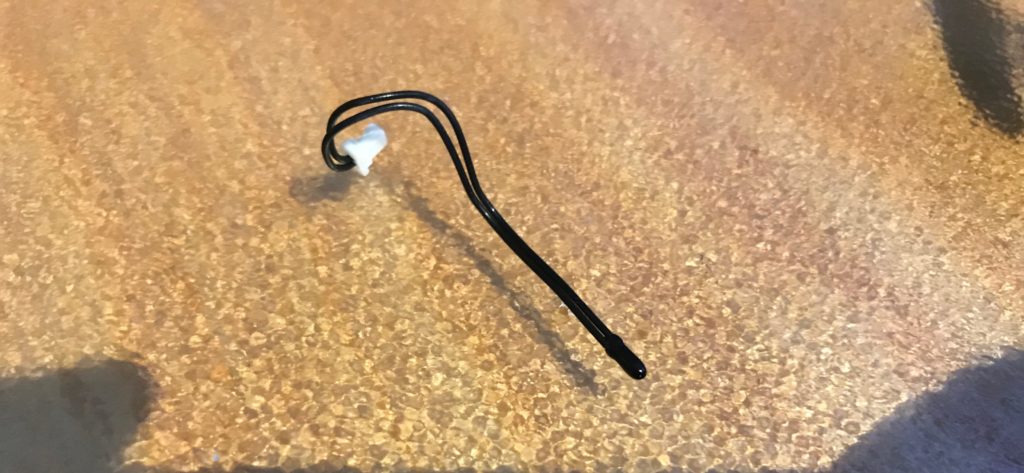
The temperature sensor should fall free from the battery, carefully place that aside.
Pictured above is the disconnected temperature probe.
Step 4: Using a soldering iron warm up the solder joint on the stock battery and remove the connector from both terminals.
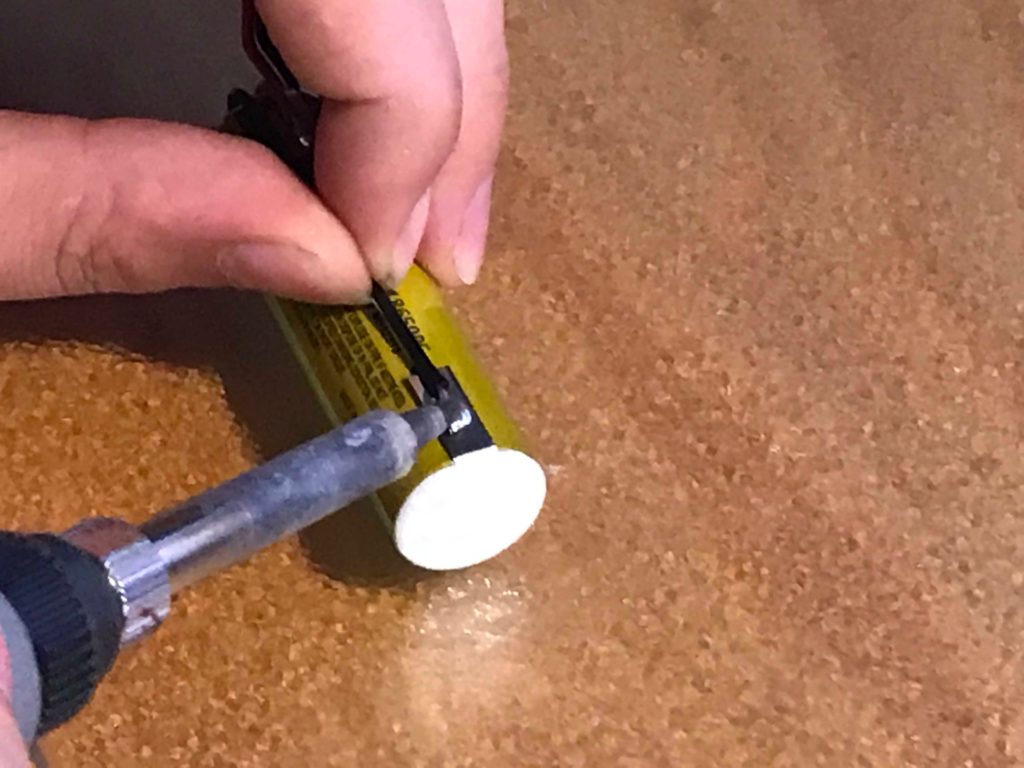
Step 5: Using your soldering skills solder the two connectors onto the tabs of your new battery, making sure to keep the correct polarity.
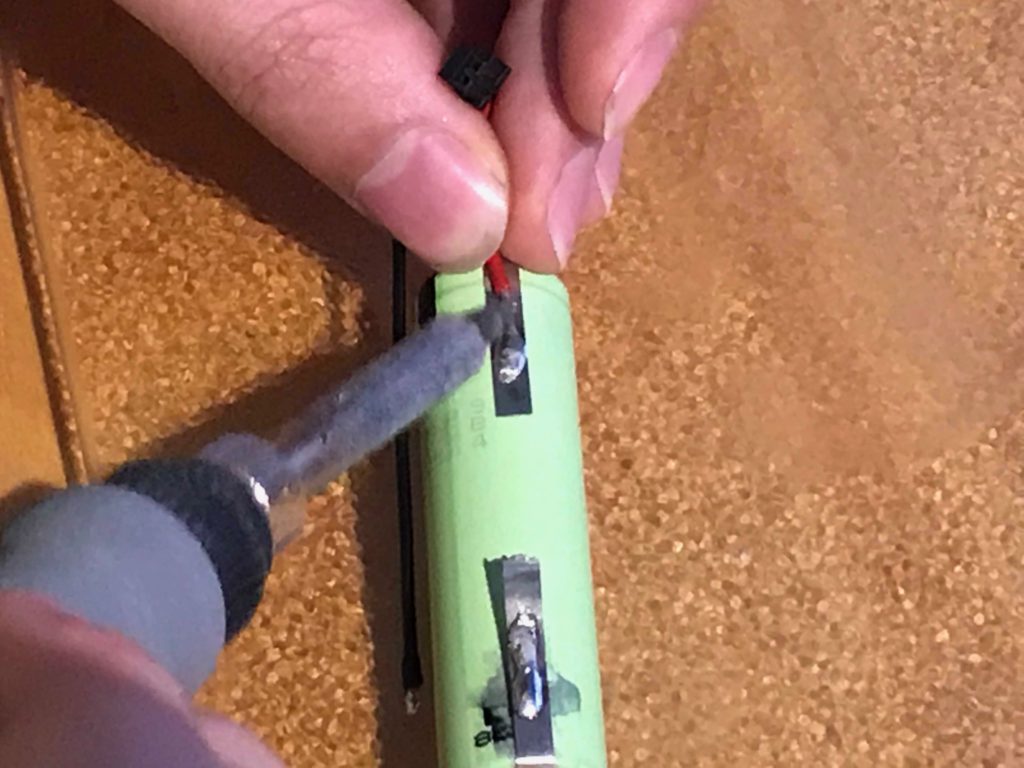
The red wire should be on the positive terminal.
Step 6: Visualize which way the battery will face once it’s plugged into the board and back in the Crafty.

This is important so that you can place the temperature probe against the battery with the connector facing in the right direction.
I didn’t find this step too difficult, the two connectors plug in facing a similar direction and lining the temperature probe connector up with the battery connector was enough to get it right.
Once you’re happy with the position of the probe, use some electrical tape to tape it into place.
Step 7: Tape the whole battery up.
You can also use battery size heat shrink tubing. Make sure you tape all the exposed metal connections. Don’t overlap the tape too much because there isn’t much room for the added bulk in the battery compartment.
Step 8: Plug your battery and temperature probe back in.
Might wanna use a toothpick for this, getting the battery in was easy but getting the temperature probe plugged in took a few minutes. Be patient and don’t try to force it.
Step 9: Turn your Crafty on using the little black power button on the front of the circuit board.
Make sure it works. If not, plug the Crafty in to charge, does it charge?
If the Crafty doesn’t power on or charge it’s time to troubleshoot your connection.
Step 10: Put the internals back in the Crafty shell that has the black posts coming out of it.
The clear plastic bit goes over the front of the circuit board with the hump facing up.
Don’t worry about getting the orange rubber piece in until you have the clear piece and circuit board in correctly first. You can slide the rubber piece in once everything is in place.
Do not force anything.
If it feels like it doesn’t fit, pull it out and try again. If you straighten your battery wires too much, give them a bend and try to snake them into place, but do not force anything into place.
Step 11: Put the top half of the Crafty shell on battery side first.
This is a very snug fit and everything should be oriented in the right direction for the shell to completely close.
If you’re having any problems at all with the shell not fitting perfectly DO NOT FORCE IT.
Check out the technique in the video below if you need assistance closing up your Crafty.
This is the easiest step to make a mistake and damage your Crafty. You may need to rotate the battery to move the temperature prove off to the side, or tuck your connector wiring in a little deeper.
I guarantee you that if you do everything correctly the two halves of the Crafty will come together and make a perfect seal without any force, just sliding into place.
Step 12: Once the two halves are together and you’re happy with the fit put the four screws back in.
Make sure that you’re leaving them finger tight and not overdoing it.
Depending on the battery you use you may need to give your Crafty a full charge before you used it.
Congratulations you’re all done and your Crafty should be running like new or better.


Thanks for this. It worked for me. I used a 3400 mha, and it seems to work fine. Fitted back in the case nicely too. I was able to reuse the mfrs sticky tape, which made it less bulky.
Also, there is a groove inside one of the shell sides, which is there to accommodate the bulk of the wires and temp sensor coming back to the business end. I had no problem getting it all back together.
Here’s my battery.
Panasonic Tagged NCR18650B Green Li-Ion 18650 Rechargeable Battery – 3.7 V 3400 mAh 12.58Wh Lithium1£6.95£6.95
Hello, I was wondering if your Crafty is still working fine.
Also, is this the same battery…
https://onlybatteries.com/3-7-volt-panasonic-18650-lithium-ion-battery-3400-mah-with-tabs/
Thanks for any help.
I haven’t used that Crafty in a while, it’s not having any issues but it may be due for another battery replacement. I’ve been using my Mighty+ and Venty recenty.
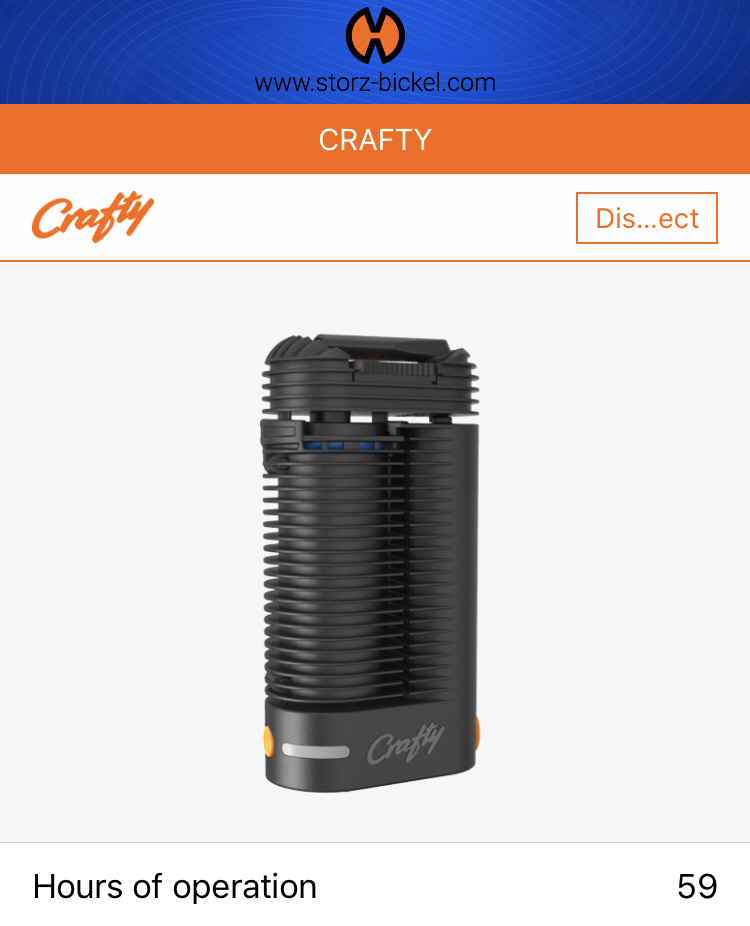
Hello i need to replace my battery too. My crafty worked for 583 hours kinda nice and my record. Others broke down around 200 hours. I only found 3500mha battery on a market. Is this working now, or its uselles to buy one? As i can see that others have problems. Regards
Hi King. I juste change the battery and have the same problème as MARC.
I can’t hard reset IT also
Hi King,
thank you so much for your battery replacement guide. I have replaced mine with the NCR18650PF 10A battery. When I try to charge the battery it starts charging but after a few minutes the blue light stops flashing and the app says that the crafty is fully charged. Any idea what might be wrong here? One time it actually charged until the battery was full but I have no idea why it did…
Hello
I have the same concern as Marc. Has anyone found a solution? Thank you in advance for your answer.
I am also looking for this solution
Hi, I am looking for this solution too. :/
Thank you! Great to know